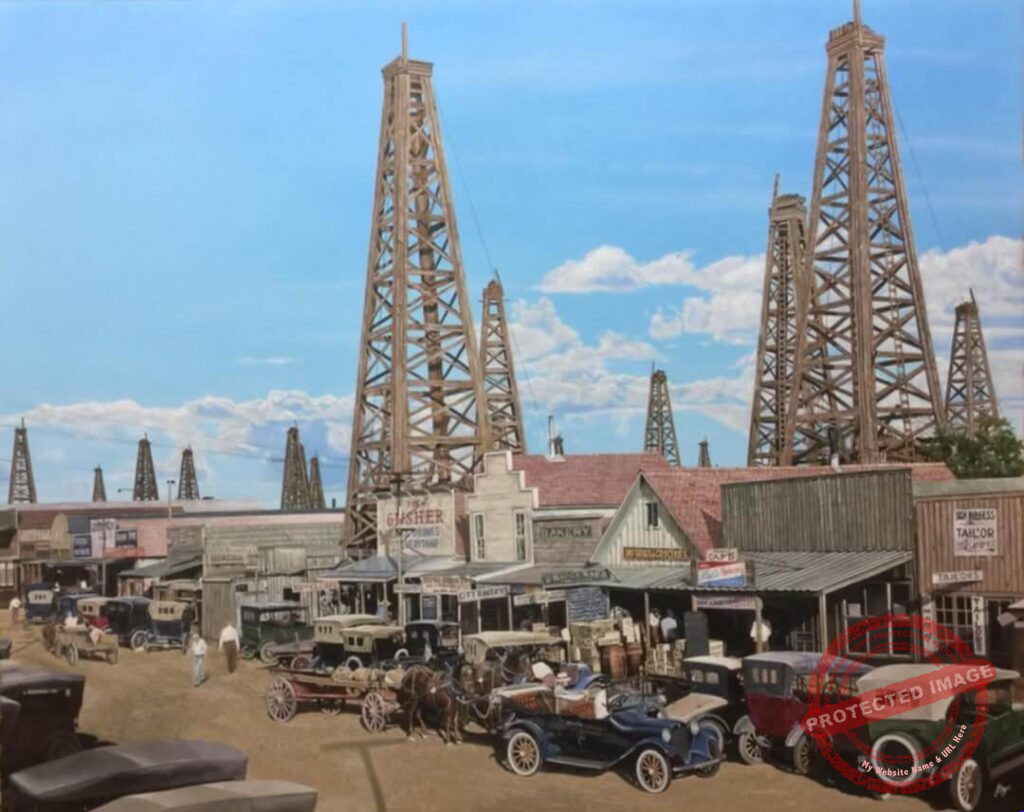
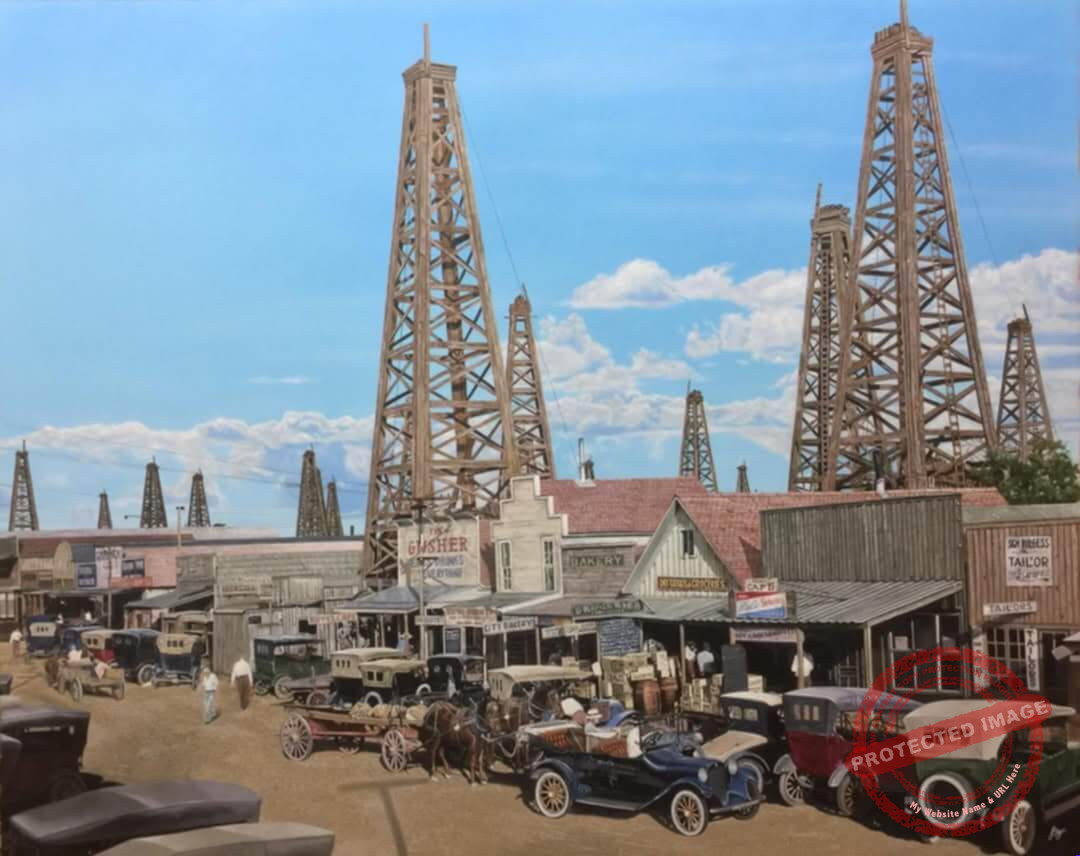
All of my paintings start with a vision inspired by scenes of areas I travel to and photographs I collect along the way.
I am a studio artist and collect reference images to create a final idea for a painting. I compile images together in Photoshop and by changing colours, backgrounds and altering details I can mould the idea into a composition that brings the best out in the final image. I sometimes use digital painting to alter certain areas of a photograph to make it more appealing.
This initial reference gathering stage can sometimes take several weeks to complete and as this is the foundation for the painting, it is one of the most important stages.
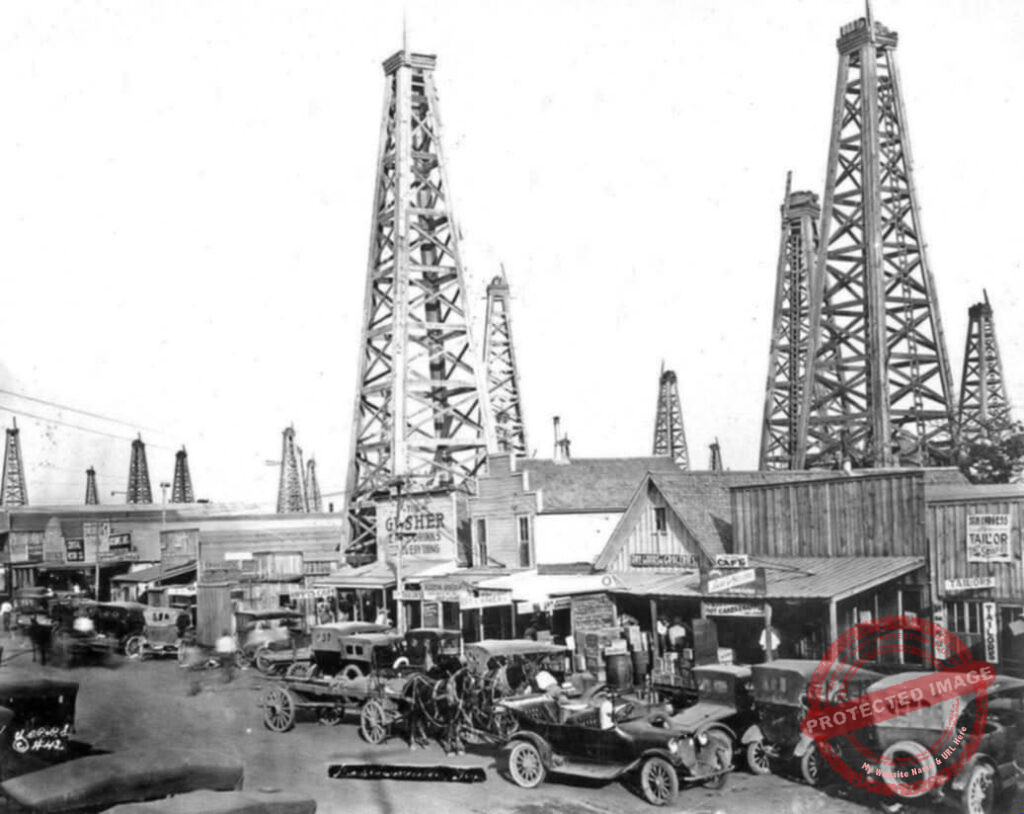
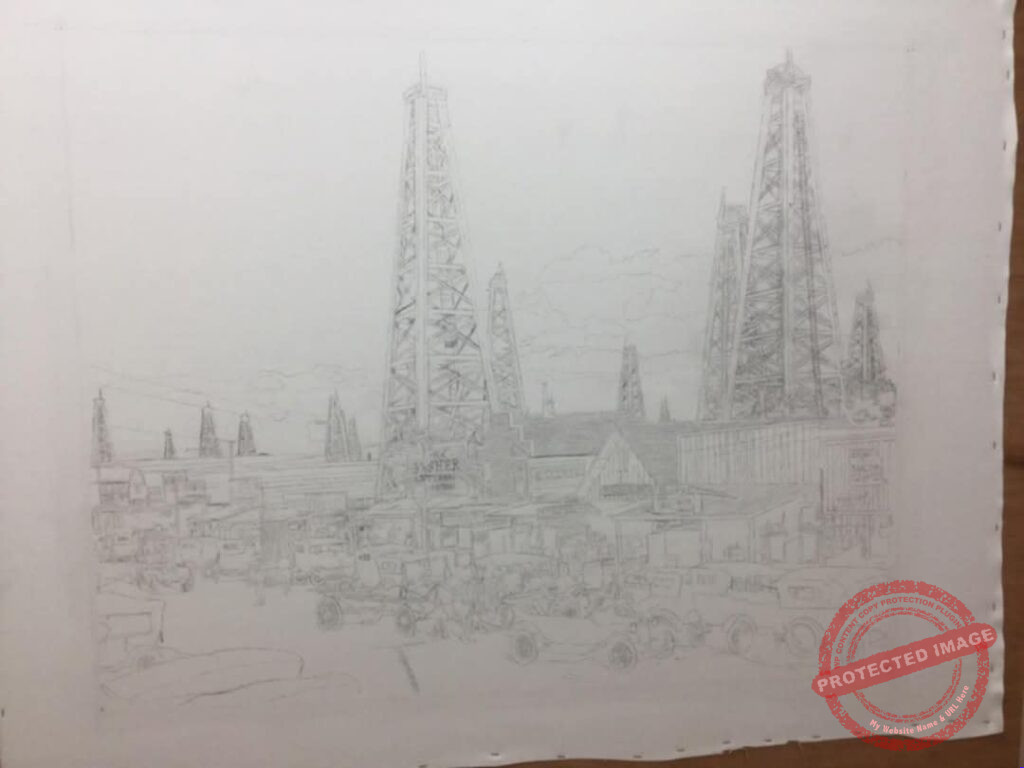
The outline.
Once the idea is set onto the computer I have the image printed out to the same size as the final painting will be. I stretch a very finely woven smooth canvas onto a flat board rather than a stretcher, so that it has more support during the painting process. Once I have positioned the canvas and have ensured that it is perfectly flat I can begin the outline by taking a hard pencil to create a very light grid. I create the same size grid over the printed image and then draw the outline square by square onto the canvas. Once the outline is completed I then put a layer of clear Gesso over the pencil to seal it onto the canvas and to create a non permeable membrane so that it doesn’t come through the paint layer. Once dry I will then place masking tape around the edges of the outline to give a border to work to.
Time to paint: the initial stages.
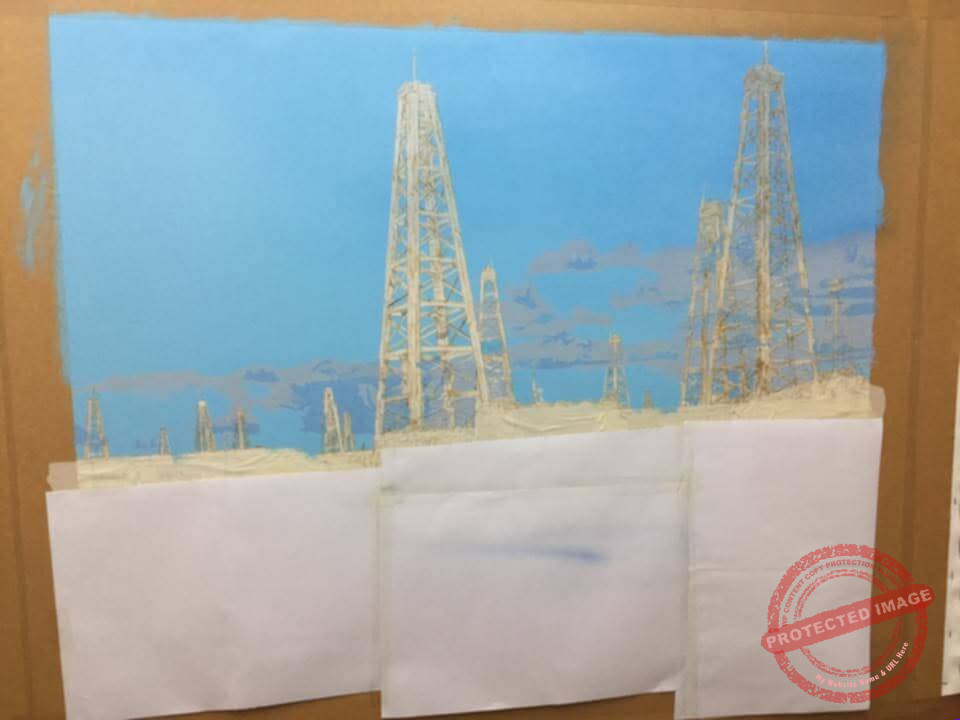
Once the gesso is fully dry I can begin painting. The first stage of painting is usually to place a base colour over the whole canvas to cover up the white. This gives a better base to work on. This layer is usually made up of a wash of Raw Umber. Once this is completely dry I begin what I like to call ‘the felt tip stage’. This stage is made up of a mid tone to rough out the colours over the whole painting and looks like a child’s felt tip colouring, hence the name.
Details…
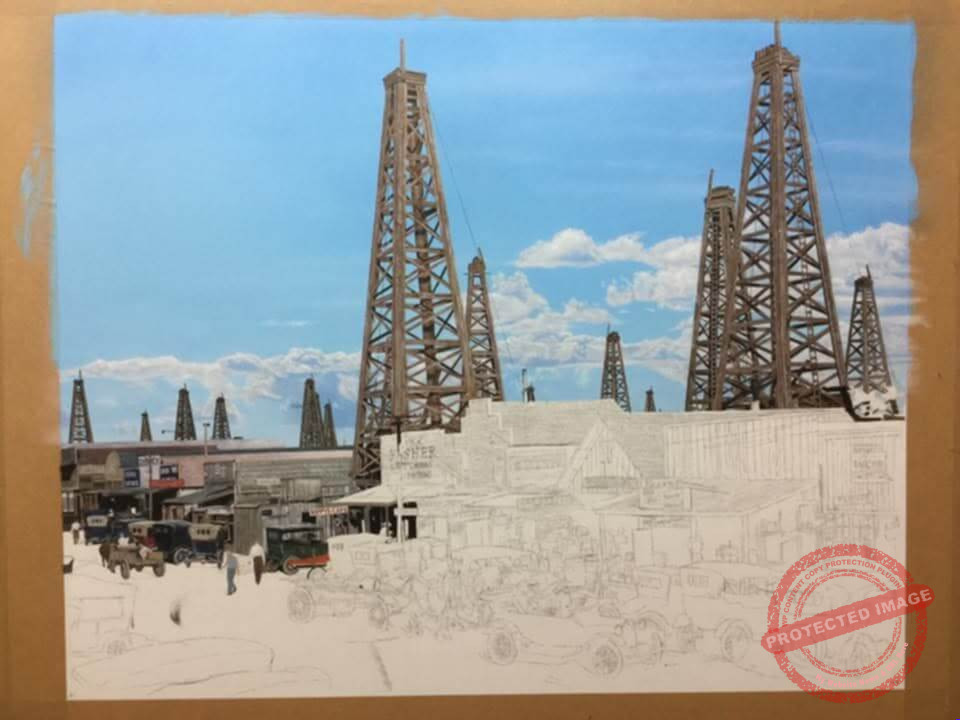
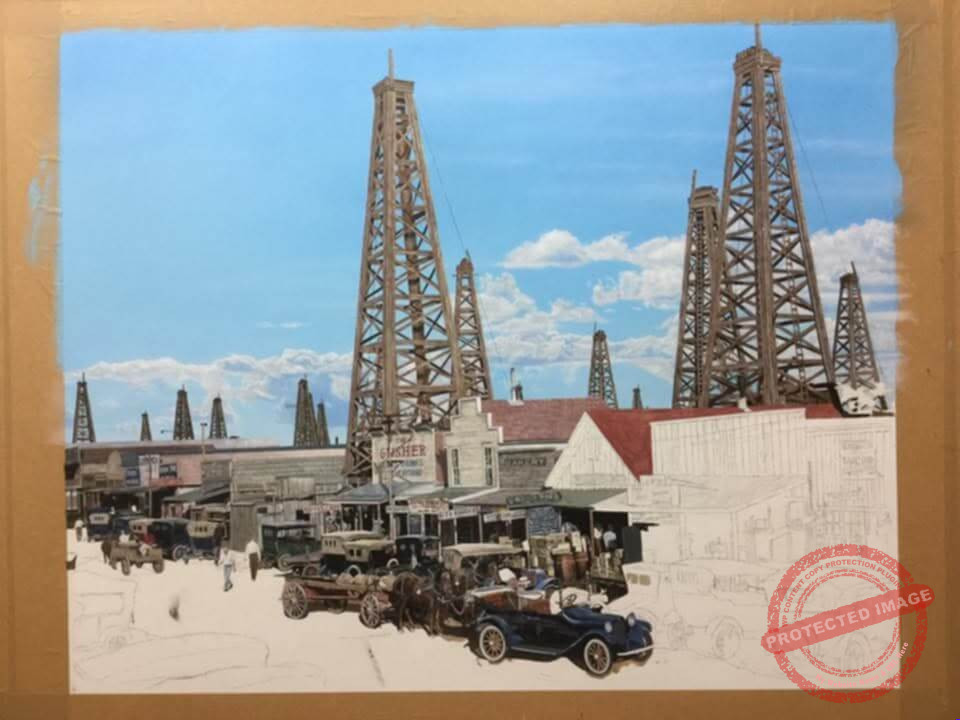
Once the initial ‘felt tip stage’ is dry then it is time to apply the detail! This stage of the painting refines all the base colours, smoothing off areas, darkening the darks and lightening areas away from the mid tones applied during the ‘Felt tip stage’. When this is complete the painting really begins to take shape.
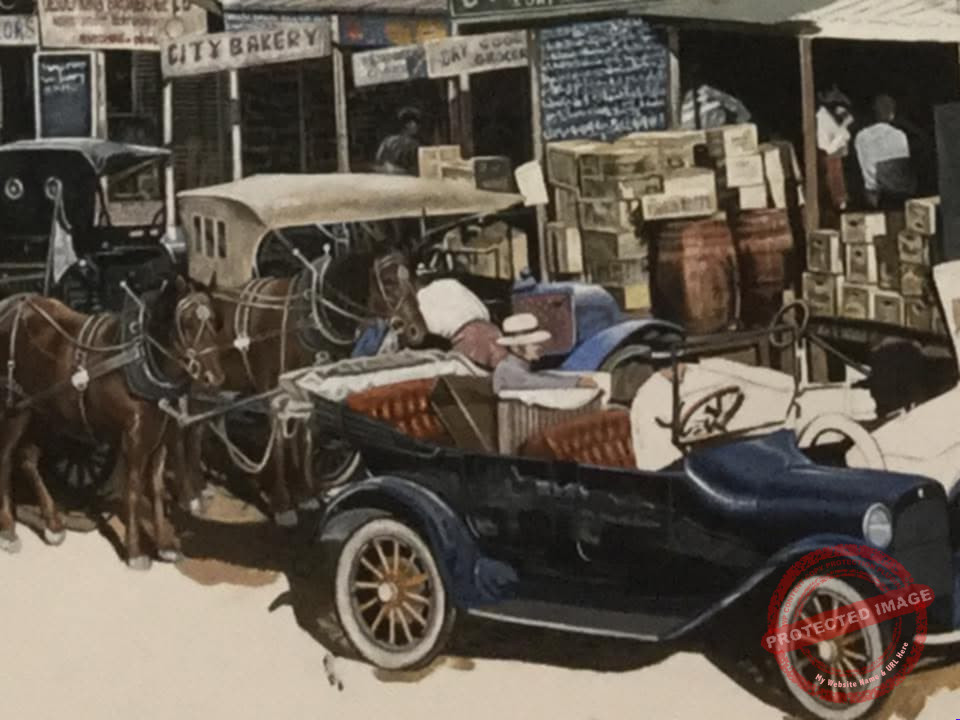
Glazing and highlights
The final stages of the painting are another stage of refinement. Some colours require a glaze layer of paint to truly come alive. This is a translucent layer that allows the previous colour to shine through with the glaze adding a hint of a different hue to alter the overall appearance and make it more realistic.
Highlights are one of the last things to be applied to a painting along with final touches of darks. Occasionally a very subtle glaze is added to highlights to blend them into the painting and allow them to sit within it more naturally.
Drying time.
After all the work is completed the paint will need time to cure. With acrylics this can take as little as one week, with oil paintings it usually takes around two to three weeks to be touch dry and months to fully cure depending upon which medium is used during the painting process. Once fully touch dry the masking tape is removed and the painting can be stretched and framed and hung on a wall.